
How to Set Up Proxies with GoLogin
How to Set Up Proxies with GoLogin
Logging into Your Smartproxy Account
Start by logging into your Smartproxy account. You can use GoLogin with datacenter, dedicated datacenter, and residential proxies. Today we’ll go with residentials.
Creating a New User
Let’s create a new user. For that, go to the ‘Authentication method’ section. Think of a username and a password. Click ‘Create.’
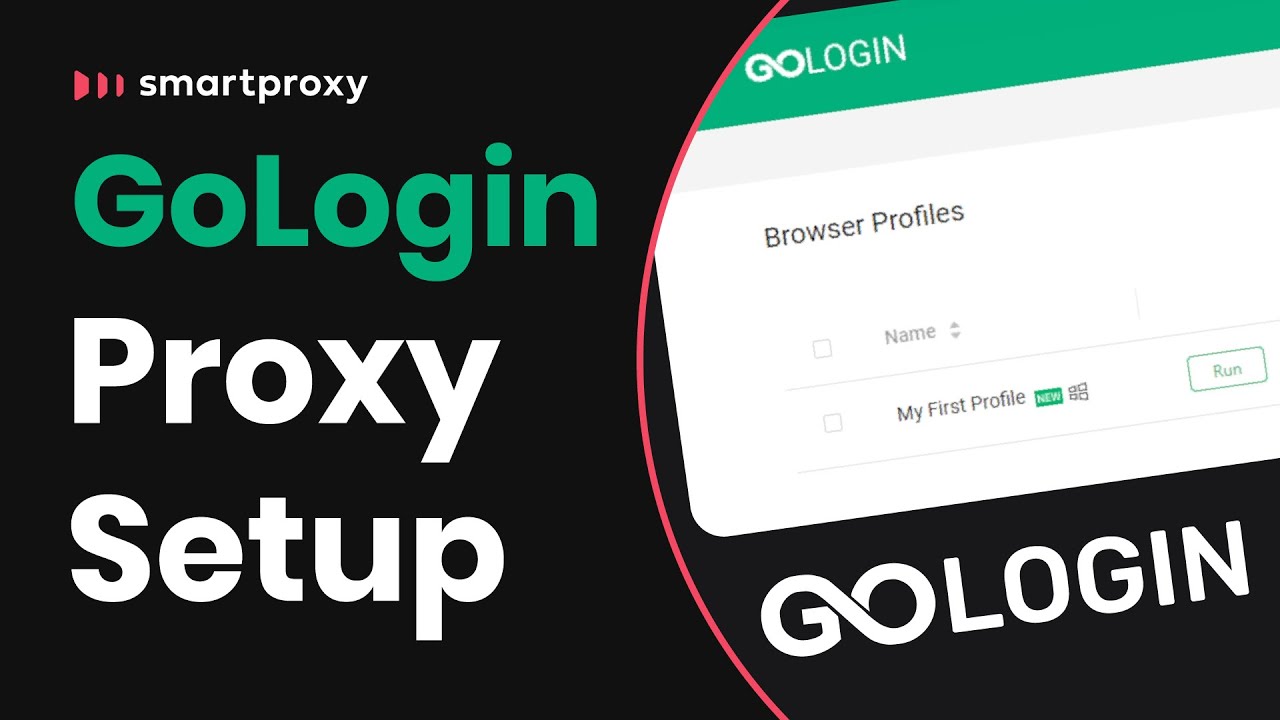
Adding Proxies to Your GoLogin Profile
Now open GoLogin and choose a profile you want to boost with proxies. Click on a browser profile and then click on ‘Proxy.’
Configuring the Proxies
To add your proxies, choose the ‘HTTP Proxy’ option in the dropdown menu. If you want to add DDC SOCKS5 proxies, select the SOCKS5 option.
Setting Endpoint and Proxy Location
Go back to the dashboard and move to the ‘Endpoint generator’ section. Select a proxy location, such as the USA. Specify other proxy parameters.
Entering Proxy Details
Jump back to GoLogin and type the endpoint and port of the proxy in the required fields. Enter the proxy username and password as well.
Managing Proxies
If you ever want to use the same proxy for other projects, click on the icon in the top right corner to manage all your proxies.
Testing the Proxy
Check whether the proxy works. If successful, you’re all set. If you’re unsure about proxy types, check out our proxy types video. Till next time!
Étiquettes : comment créer un compte onlyfans, GoLogin, mym comment ça marche, mym comment gagner de lʼargent, mym creator, mym cʼest quoi, mym.fans, onlyfans cʼest quoi, onlyfans salaire, onlyfans salaire moyen, onlyfans salaire moyen france, Proxies, Set