
Tacticool Black Templar! SPEED PAINT!
Tacticool Black Templar! SPEED PAINT!
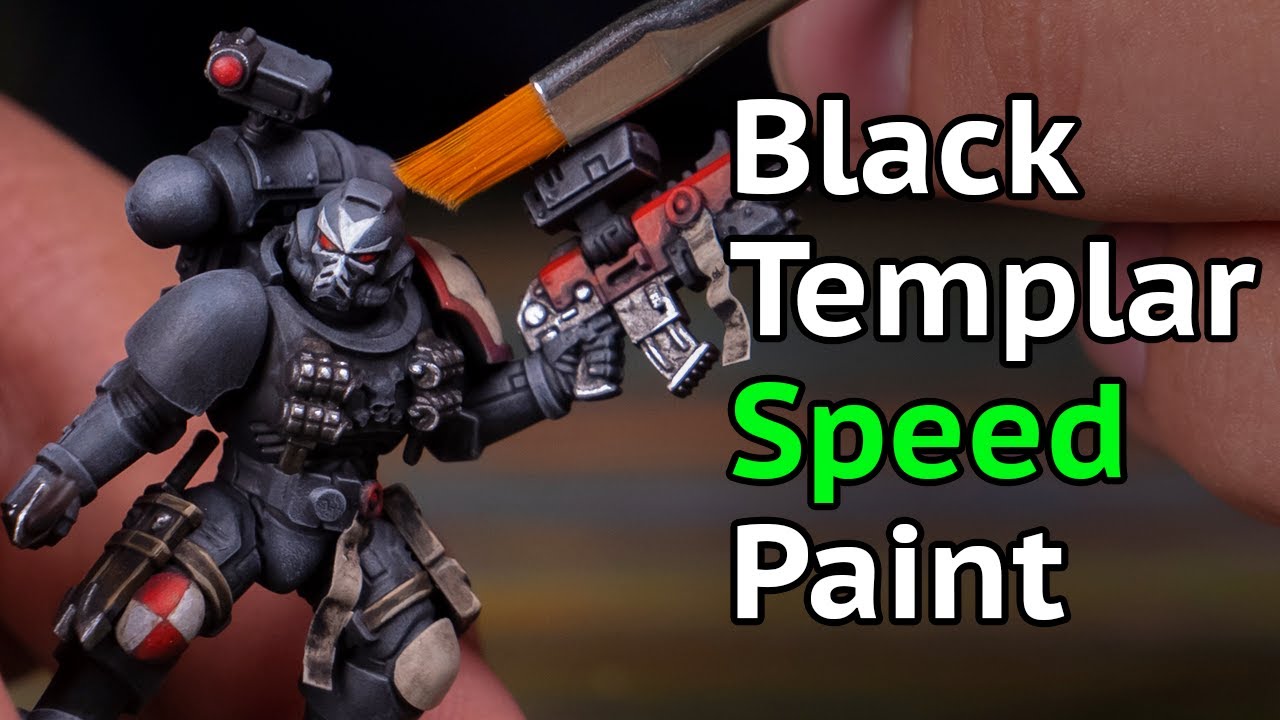
Preparing the Model
hey guys jay here welcome to eons of battle in this video i want to show you how to paint tactical black templar armor quickly and easily here are the paints i’ll be using the first thing i did was i prepared my model for painting i’m working with two sub-assemblies the head and the rest of them i put a drop of silly putty in the neck hole to keep the paint from getting in there and then i prepared my favorite paint handles cubes of wood with double stick tape i primed model black with some style res black primer through my airbrush but you could also use a rattle can of primer too then i mixed together some gray and black to make my first highlight color i airbrushed this from the top to give a subtle gray to the whole model this is a black templar but gray will look more dynamic with shadows and highlights then i sprayed a little pure gray keeping this only to the tippy tops of things leaving a lot of the black primer and black gray mixture showing underneath now it was time to introduce some colors i used a tan to paint the knees shoulder pads and purity seals just a two thin coat paint job no highlighting no fussing i used the brown on his pouches and knives then a gunmetal metallic on all the metal bits like his grenades guns and knife and i used a red on the purity seals the trim on his shoulder pad and his gun now you can be done here and move on to the oils but i wanted to add a little pizzazz so i did some freehanding i painted a red checkered pattern on his knee i threw a decal on his shoulder and i painted the black templar symbol over his face i love the primera’s helmet it’s a nice canvas to work with i glued on the head it was only separate to let me have enough room to paint on the symbol then it was time for oils i poured myself a wash cup and an oil cup i mixed up a nice soupy mixture of black and cover the model 100 then i took a brush soaked with thinner and began wiping off the oils i wiped the model and then wiped off the excess paint onto a paper towel most of it will come off but the stuff that stays will do a great job of shading the mini for me once this was done i gave him a few hours to dry and then it was time for highlights i used a bright red to highlight the red stuff making a gradient on the gun shoulder pads and purity seals i also used this bright red on his eyes then i threw an earth brown onto the base and while i was on my brush i used this color to highlight the pouches this color looks great over dark brown i edge highlighted all of the pockets then i took a silver paint and highlighted all the metal bits dotting the tops of the grenades the pointy part of the knife and edge hiding in the details on his gun now to finish off the model with some dry brushing i dry brushed a tan onto the base and then i went back in with my original gray and dry brush the black armor to bring out the dark details no heavy metal edge highlighting here this is a speed paint and it looks great i used a small army painter dry brush so i wouldn’t get paint on any of the stuff that was already finished and now my tactical black templar is done the only thing left to do was to paint the rim of the base black we make tutorials like these every single week and if you find them helpful you might consider supporting us over on patreon over there you’ll gain access to some behind the scenes hobby hangouts stls and more exclusive content i used some oils on this model and they worked really well you might want to check out this video where i make an oil wash find this video and last more like it on our beginners videos playlist but that’s all for this video i hope you enjoyed and as always thanks for watching
Étiquettes : BLACK, comment créer un compte onlyfans, mym comment ça marche, mym comment gagner de lʼargent, mym creator, mym cʼest quoi, mym.fans, onlyfans cʼest quoi, onlyfans salaire, onlyfans salaire moyen, onlyfans salaire moyen france, paint, SPEED, Tacticool, Templar